There is a particular kind of food memory that lives not just in the mind but somewhere deeper — in the body, in the senses, in the involuntary smile that appears the moment you take that first bite of something you have not tasted in decades. For thousands of adults who grew up eating school cafeteria food in the seventies, eighties, and nineties, lunch lady bars are exactly that kind of memory. Peanut buttery, chocolatey, creamy, and satisfying in the most uncomplicated way imaginable, these bars were the reward that made the entire school lunch worth sitting through. And now, thanks to a wave of nostalgia sweeping through social media and home kitchens everywhere, they are back — and better than ever.
The concept is beautifully simple. A dense, creamy peanut butter and graham cracker base is pressed into a pan, topped with a smooth layer of melted chocolate and peanut butter, and chilled until set. No oven required, no complicated technique, no special equipment beyond a microwave and a square baking pan. The whole thing comes together in about twenty-five minutes of active preparation, with an hour of hands-off chilling time to let everything firm up before slicing. The result is sixteen generous bars that taste like they required far more effort than they actually did.
The School Cafeteria Origins
Lunch lady bars belong to a proud tradition of American school cafeteria desserts — the kind of food that was made in enormous quantities by skilled, resourceful kitchen staff who knew how to create something genuinely delicious from economical, shelf-stable ingredients. These bars, known in some regions as buckeye bars due to their similarity to the beloved Ohio peanut butter and chocolate candy, were the stuff of legend in school lunchrooms across the country. Every region seems to have its own version, and nearly everyone who grew up eating them has a slightly different memory of how they tasted or what they were called. That universality is part of what makes them so enduring and so beloved.
The connection to Ohio buckeye candy is particularly fitting. Both treats share the same essential combination of peanut butter, powdered sugar, butter, and chocolate. The key difference in the lunch lady bar version is the addition of crushed graham crackers, which introduces a slightly different texture — less purely candy-like, with occasional crunchier bits that add a pleasant contrast to the smooth, creamy filling. It is a small but meaningful distinction that gives these bars their own distinct identity rather than simply being a flat version of a buckeye.
Why You Should Crush Your Own Graham Crackers
One of the most important tips for making these bars properly is to crush your own graham crackers rather than buying pre-ground crumbs from the store. This might seem like an unnecessary extra step, but the difference in texture is genuinely significant. Pre-ground crumbs are uniformly fine and powdery, which produces a filling that is smooth but somewhat one-dimensional. Crushing whole graham cracker sheets yourself — sealed in a zip-top bag and rolled over firmly with a rolling pin — gives you a mixture of fine crumbs and slightly larger irregular pieces. Those larger pieces create pockets of crunch throughout the filling that make each bite more interesting and satisfying.
When measuring the crushed crumbs, it is important to pack them firmly into the measuring cup and level off the top rather than simply pouring and leveling. Loosely measured crumbs can result in significantly less than the recipe requires, which will affect the texture and structure of the finished bars. A kitchen scale is the most reliable approach if you have one available.
Building the Layers
The filling comes together quickly in a single bowl. Melted butter, powdered sugar, vanilla extract, peanut butter, and the crushed graham cracker crumbs are stirred together until fully combined into a dense, cohesive mixture. Pressing it into an even layer in a foil-lined pan is made considerably easier by placing a sheet of plastic wrap directly on the surface of the filling before pressing — this prevents the mixture from sticking to your hands and allows you to apply firm, even pressure across the entire surface.
The chocolate topping is equally straightforward. Semisweet chocolate chips, a small amount of peanut butter, and a final tablespoon of butter are melted together in the microwave in short intervals, stirring between each one to prevent scorching, until the mixture is completely smooth and glossy. The peanut butter in the chocolate layer serves two purposes — it adds flavor continuity with the filling below and helps the chocolate set to a slightly softer, more yielding consistency that makes the bars easier to bite through cleanly after chilling.
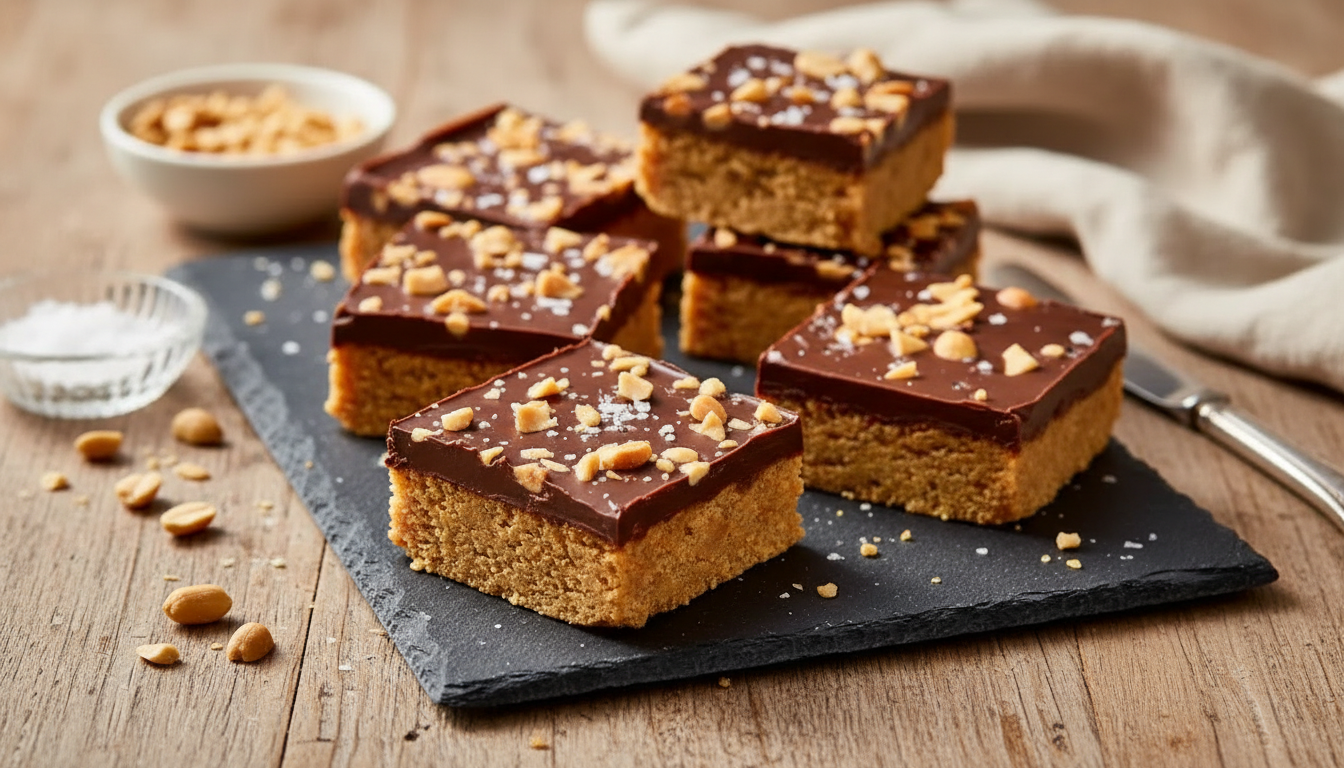
Chopped salted peanuts scattered over the chocolate while it is still wet add crunch and a visual appeal that makes the finished bars look as good as they taste. A pinch of flaky sea salt sprinkled over the top just before serving is the grown-up flourish that elevates the entire experience — the contrast of salt against the sweet chocolate and peanut butter is genuinely extraordinary and highly recommended.
Slicing for Clean, Beautiful Bars
After an hour in the refrigerator, the bars are fully set and ready to cut. Using the foil overhang as a sling to lift the entire slab out of the pan makes slicing much cleaner and easier than trying to cut directly in the pan. A large chef’s knife warmed under hot running water and dried thoroughly between each cut produces sharp, clean edges without dragging through the chocolate layer or crumbling the filling. Taking the extra thirty seconds to wipe and rewarm the knife between cuts makes a noticeable difference in how professional and polished the finished bars look.
Ingredients
6 ounces of graham cracker sheets (12 to 13 sheets), 11 tablespoons unsalted butter divided (156g), 1 and 1/2 cups powdered sugar (170g), 1 teaspoon vanilla extract, 3/4 cup plus 2 tablespoons creamy peanut butter divided, 1 and 1/4 cups semisweet chocolate chips (212g), and chopped salted peanuts and flaky sea salt for garnish if desired.
Instructions
Seal the graham cracker sheets in a large zip-top bag and crush them firmly with a rolling pin until you have approximately 1 and 1/3 packed cups of crumbs with varied texture. Melt 10 tablespoons of the butter in a large microwave-safe bowl using 15 to 30-second intervals, stirring between each, until fully melted. Stir in the powdered sugar, vanilla extract, 3/4 cup of peanut butter, and all of the graham cracker crumbs until well combined. Line an 8×8-inch baking pan with aluminum foil leaving a one-inch overhang on all sides. Spoon the filling into the pan, cover with plastic wrap, and press firmly into an even layer. Discard the plastic wrap.
In a separate microwave-safe bowl, melt the chocolate chips with the remaining 2 tablespoons of peanut butter and the remaining 1 tablespoon of butter in the same interval method until completely smooth. Spread the chocolate mixture evenly over the filling and scatter chopped peanuts over the top if using. Chill uncovered for one hour until fully set. Lift the slab from the pan using the foil overhang and slice into 16 bars using a warm, dry knife, wiping clean between cuts. Add flaky sea salt just before serving if desired.
Store in an airtight container in the refrigerator for up to one week, placing sheets of waxed paper between layers to prevent sticking.


